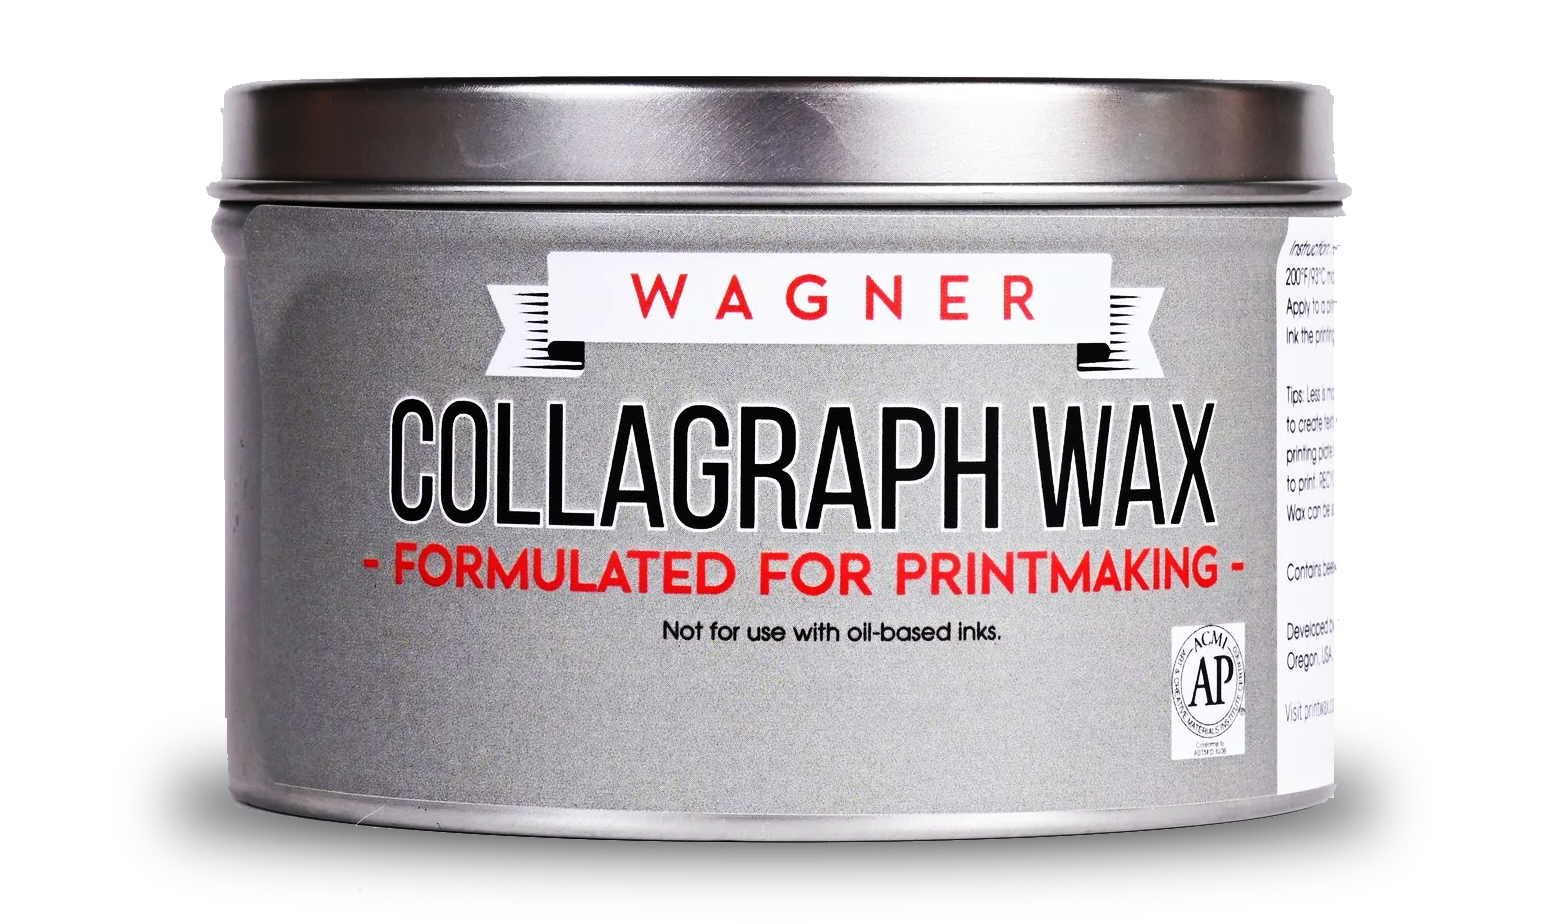
Getting Started WITH WAGNER WAX
We’re glad you tried our product for collagraph printing!
Here’s some helpful info to get you started.
TO BEGIN
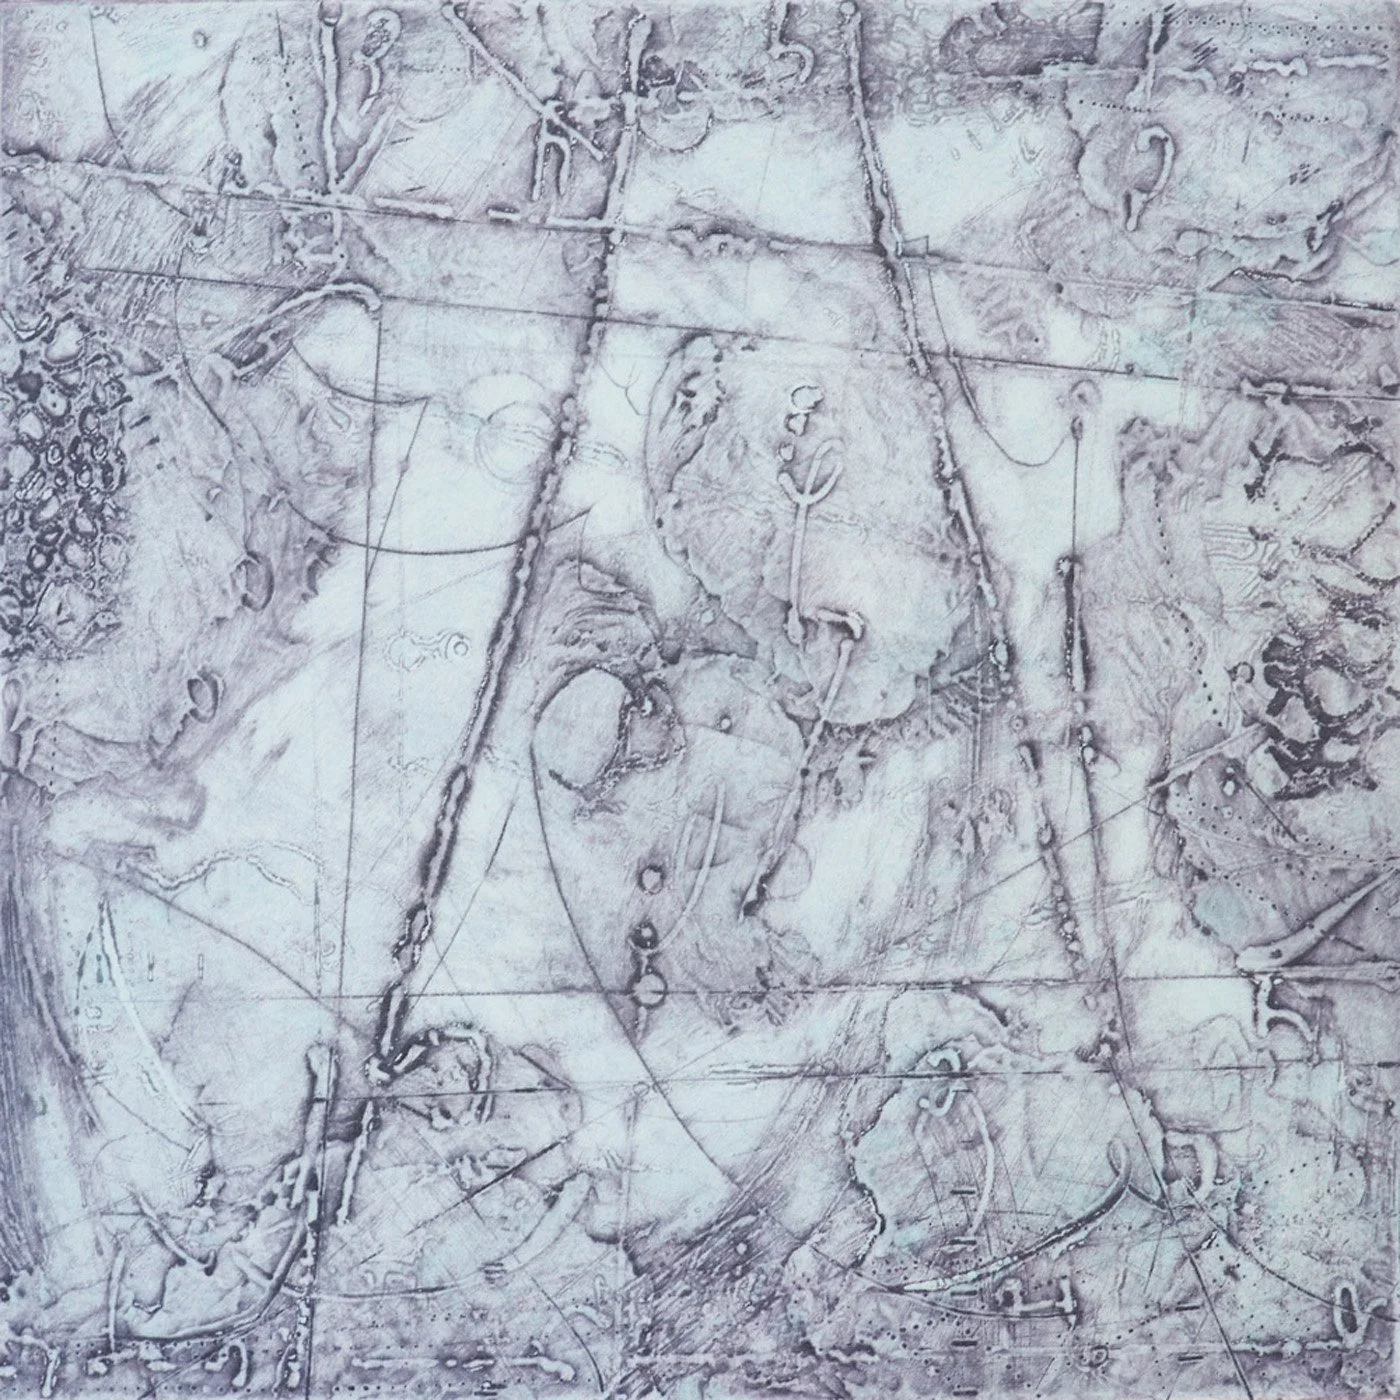
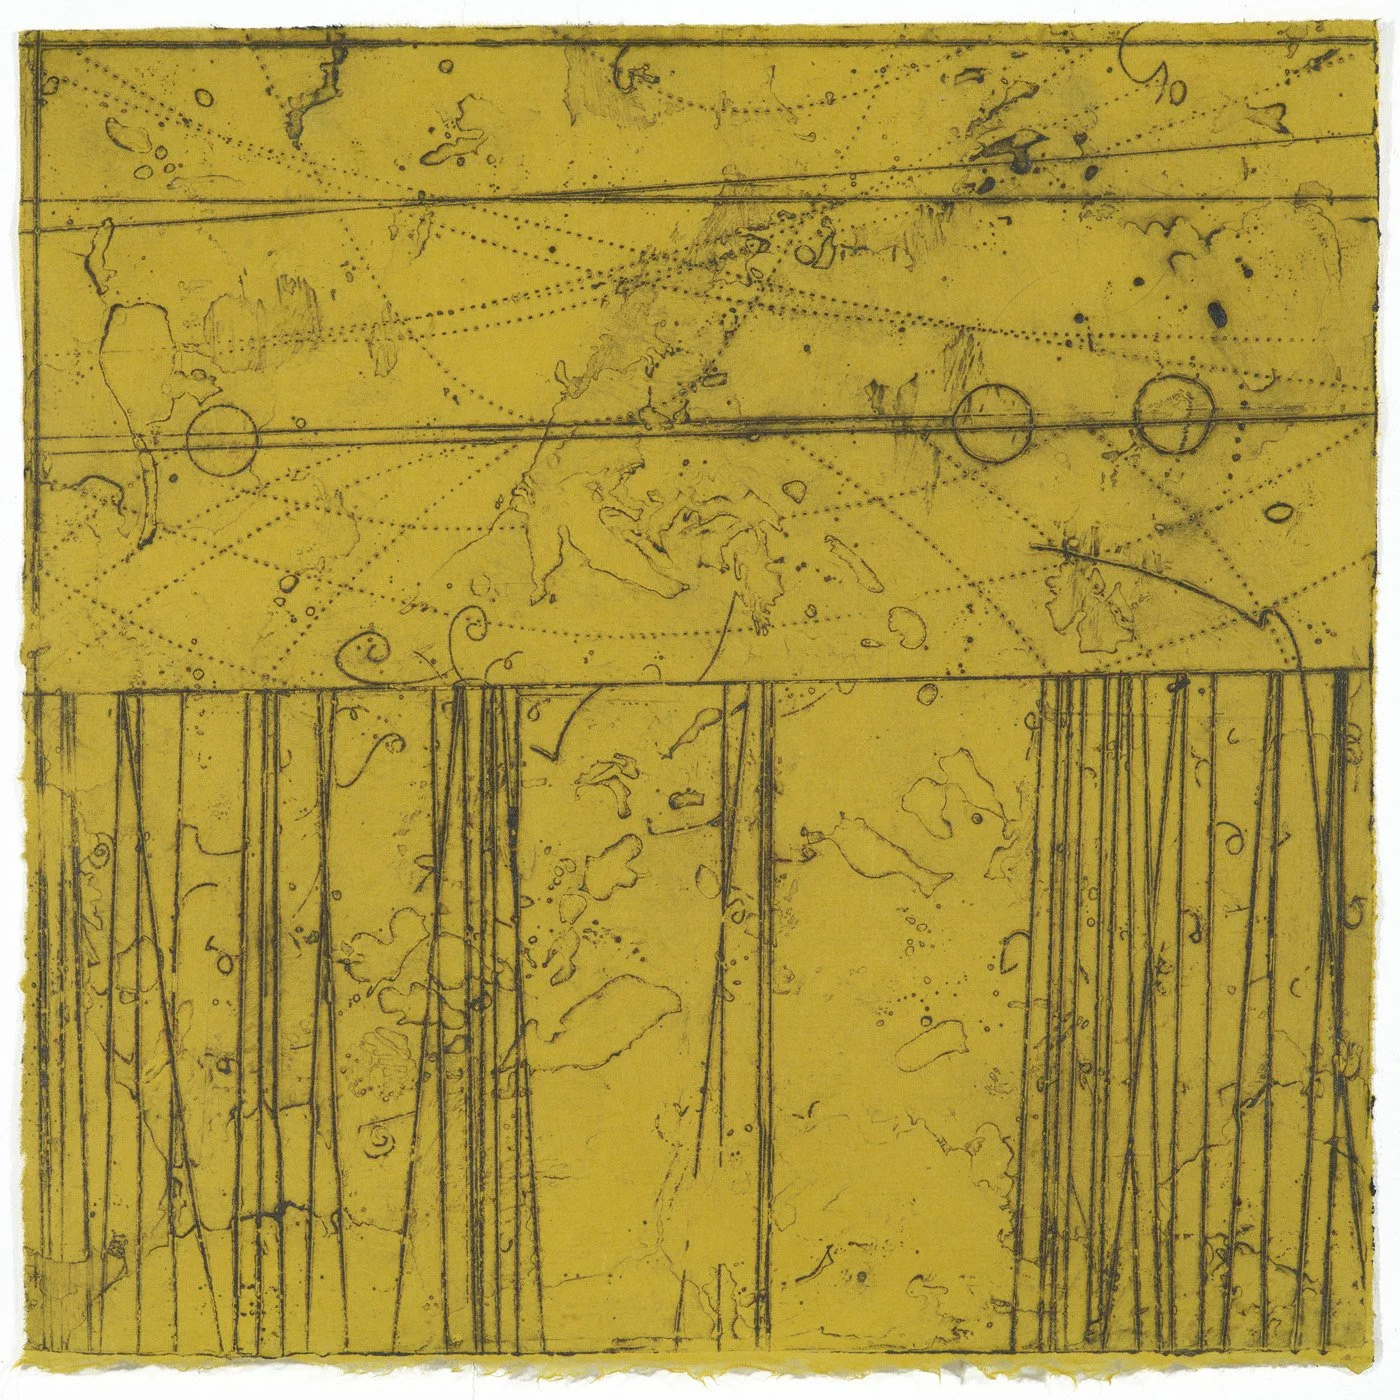
Wagner Collagraph Wax is a specialized hand-formulated encaustic paint for printmakers. It’s easy to release from paper when printing on an etching press. Use this white wax to build collagraph printing plates instead of collage materials. Inked, encaustic can be etched, scratched, carved, or embossed. Use an etching press to create rich, deep prints on paper.
Safety:
Ventilation is needed when using this product. A Vent-a-fume is ideal, but a fan in a doorway with a window fan facing out of the studio work area will suffice.
Heating:
Heat the griddle at 200°F (93°C) until molten, which can take up to 45 minutes. To speed the melting process you can leave the can covered and removed the cover using a heat resistant glove or small spring clamp. Wax should remain on griddle while working and stay fluid and at a consistent temperature not to exceed 200°F (93°C). Once molten, place and leave the hog hair brush in the can to fluidly work with it. When finished working, you need only to turn off the griddle, removing the brush from the can is optional and cleaning is completely unnecessary!
Plates:
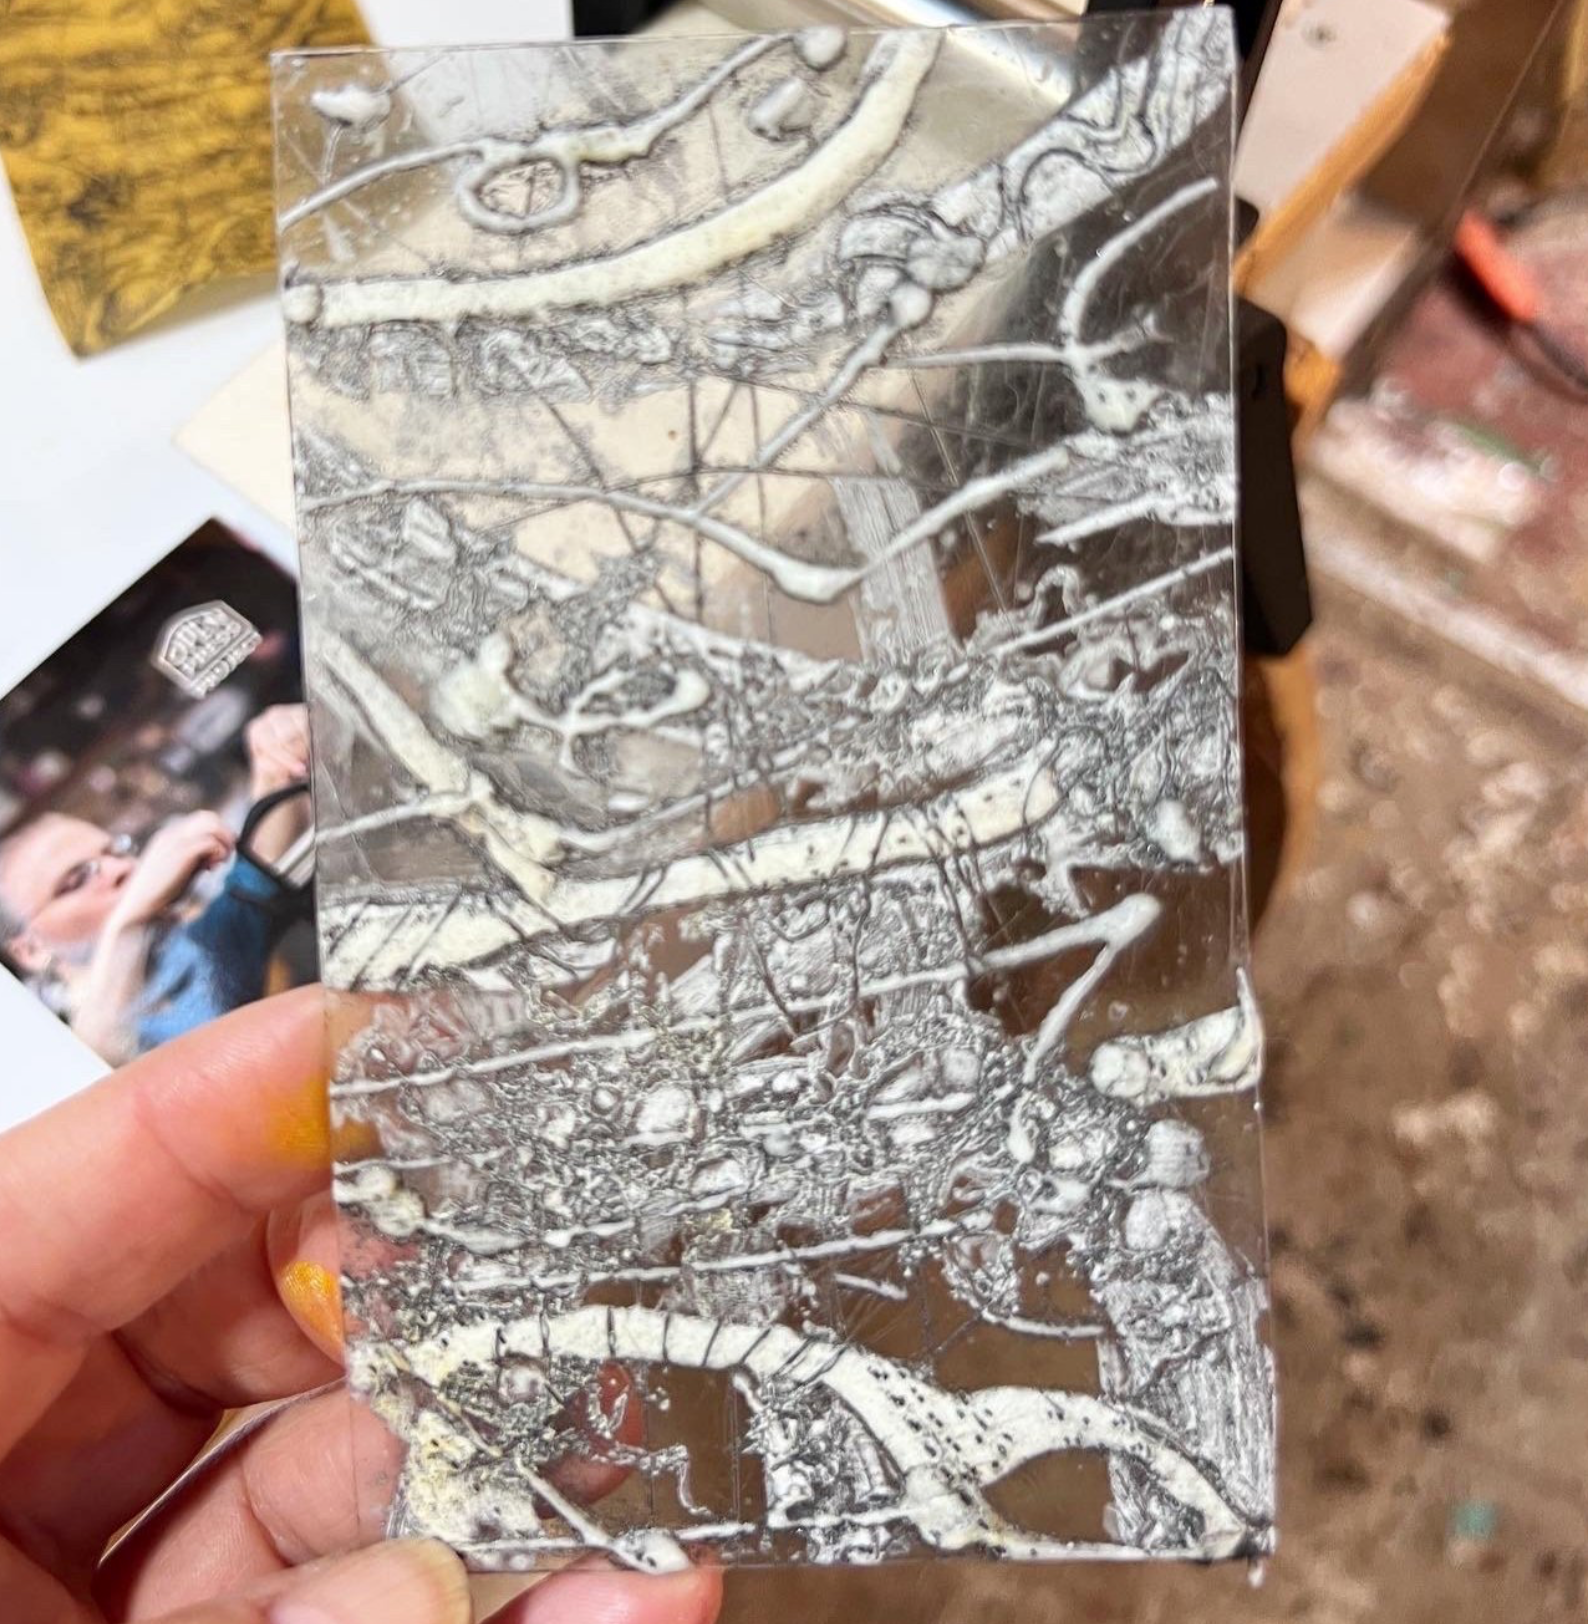
For best results, use 1/8” thick clear acrylic plexiglas. Beveling is recommended to prevent tearing of the paper, but it’s not necessary. Jigs around the plate depth work well, especially with thicker plates. Thinner plates can be used like Akua plates which can be cut with scissors to desired size. When working larger than 8”x 10”, avoid thinner than 1/8” plates to avoid cracking of the collagraph wax. Plates can be up to 1/4” thick, beveling or jigs are recommended for thicker plates.
Application and techniques:
Apply the wax with the 1” wide hog hair brush. Finer tipped brushes can be used as well. The wax should be applied thick enough to create a ridge to emboss textile textures and for the ink to “hug” once applied. The first print is often the first indicator of where to scrape down thicker areas or enhance and add to thinner areas. Halo’s around textures and lines on the first print is a good indicator of where to scrape down thicker areas. Wax scraped off of the plate that is uncontaminated by ink can be recycled back into the can. Once the plate has enough wax, marks, textures, and negative space, scrape off excess wax from the edges and back of the plate using the recommended “loop” ceramic tool. Create texture with mark-making tools and textiles. Use a tacking or sealing iron to emboss textures into the wax or to make marks.
Printing:
Not all presses are alike! Start with lighter pressure to prevent the plate from sticking to the paper. Run a proof of the collagraph plate on your chosen paper or newsprint to gauge the plate thickness with the press pressure for wax collagraph.
*For best results, use a 1” thick firm piece of foam rubber in between or in place of blankets.
-Register paper on the press bed first. Place a weight on one end of the paper to hold it in place and flip to place your plate down.
—Place your plate on the press bed where the center of the paper is.
-Place paper over plate.
-Place a piece of tissue paper over the plate and paper, then newsprint.
-Lay blankets over the plate and paper.
-Set your press pressure, a “round trip” on the press is recommended to check on the pressure in between for adjusting (loosening or tightening).
-Seeing an embossment on the back of the paper after running it through the press is a good indicator that the collagraph printed well.
The peel and reveal:
-Once the print has been run throught the press, lift the blankets, newsprint and tissue from the paper and plate.
-Put a weight down onto the bottom of the paper just in case it needs more pressure or needs to be run through the press again to bring out more detials.
-Pull the paper from one corner to slowly release it from the collagraph.
Paper:
Thinner rice papers like Kitakata, Yuppo, or Kozo: Sprinkling works.
Heavier papers like Rives BFK, Arnhem 1618, Stonehenge, Fabriano, or other printmaking papers: Soaking is recommended. Evolon, a nylon microfiber, is unrippable and handles press pressure well.
Inking:
Speedball Akua Intaglio Inks with soy and honey ingredients: Perfect for Wagner Collagraph Wax.
Use stencil brushes to apply to the wax collagraph.
Make two passes over the inked plate with a stiff tarlatan or “scrim”.
Use Akua cloth for finishing wiping passes to bring out raised lines and textures.
Clean the plate edges and back of any excess ink after inking.
Tips & Best Practices:
Use a 4” spring clamp to handle the hot can.
Newer griddles with reliable rheostats are recommended. Griddles for etching plates can also heat the wax.
Avoid encaustic tools with plastic tips or handles, they’re harder to clean.
Avoid warmers with exposed elements to melt the wax can.
Wagner Collagraph Wax is for printmaking only; fusing is not necessary.
Don’t fuse plexiglass plates with a heatgun or blow torch; it causes warping and off-gassing. A tacking iron is recommended for embossing textures.
A 4” spring clamp is recommended for safe maneuvering of the can while molten to and from the griddle.
Hog hair or Hake brushes with wooden handles are recommended. Avoid nylon brushes with plastic casings with Wagner Collagraph White.
Layering wax or covering the plate is optional. Negative spaces and shapes can print, revealing the white background. A monotype print can create a background that passes through negative spaces after ink wiping.
FAQ:
Why use foam between or in place of blankets?
Foam cushions the collagraph and wax, softening pressure while still allowing ink into the texture for gorgeous intaglio results.
Why wet the paper?
Akua Intaglio Inks dry through paper absorption. Moistening enhances detail printing. Spraying is recommended for thinner papers, soaking for heavier ones.
Recommended papers:
Thinner rice papers like Kitakata, Yuppo, or Kozo: spritz. Heavier papers like Rives BFK, Arnhem 1618, Stonehenge, Fabriano, or other printmaking papers: soak. Evolon, a nylon microfiber, is unrippable and handles press pressure well. Use lightest weight of all heavy papers 290gsm.
Why can’t I use oil-based inks?
The boiled plate oils common in most oil based inks soften the wax and cause it to stick to the paper.
Advantages of wax over acrylic mediums or glues:
Wax offers unique properties and results in collagraphs.
Unlike permanent materials for collagraph textures such as glues or acrylic mediums, wax is more pliable and can be scraped from the plate.
Why can’t I use oil based inks:
Oil based inks are made with boiled plate oil which causes the wax to soften and stick to the paper. Water based oils such as Cranfield work with this process, although their stiffness makes the wiping process is arduous.
What are the advantages using wax for collagraph vs. acrylic mediums or glues?
Unlike more permanent materials used to create collagraph textures, wax is a bit more pliable and can be scraped off and removed from the plate.
For more more tips on how to use go to
www.elisewagner.com/encausticwhite
NOT FOR USE WITH OIL BASED INKS
Ingredients: beeswax, dammar resin and titanium dioxide pigment.
HOW TO USE WAGNER ENCAUSTIC COLLAGRAPH WAX

“ThE versatility OF THIS WAX makes it a great addition to any printmaker’s toolkit, whether they are working on traditional methods or exploring experimental techniques.”